Python: Basics
This guide covers tools for managing Python on BriCS supercomputers: Conda, uv, and pip/venv.
A minority of packages don't provide pre-built binaries for the Arm64 (aarch64) architecture used by most BriCS systems and must be built from source.
This is covered in the advanced guide.
The troubleshooting guide provides information to help diagnose build or install failures.
Which tool should I use?
| If you... | Use |
|---|---|
Need non-Python dependencies too (e.g. compilers, cuda, system libraries) |
Conda |
Want fast installs, lockfiles, or are working from a pyproject.toml |
uv |
Already have a pip/venv-based workflow and don't want to change it |
pip and venv |
Conda and uv are both reasonable defaults if you're starting from scratch.
Managing Python with Conda
Conda is a general-purpose, multi-platform package manager. Use virtual environments to isolate dependencies, whichever package manager you choose.
conda-forge
Our recommended installation method is to install Conda via Miniforge. This is due to the need for a licence to use the mainline Anaconda channel.
Installing Miniforge
To install the latest version of Conda:
$ cd $HOME
$ curl --location --remote-name "https://github.com/conda-forge/miniforge/releases/latest/download/Miniforge3-$(uname)-$(uname -m).sh"
$ bash Miniforge3-$(uname)-$(uname -m).sh
$ rm Miniforge3-$(uname)-$(uname -m).sh
Command substitution: $(command)
The expressions $(uname) and $(uname -m) use command substitution.
This means the shell runs the command inside the parentheses and replaces it with the output on the command line.
unamereturns the operating system name (e.g., Linux, Darwin)uname -mreturns the hardware architecture (e.g., x86_64, aarch64)
Avoid initialising the shell with conda init, as it modifies your shell startup scripts.
Instead, use the activate script provided with Miniforge (see below) whenever you need Conda active.
Then to activate:
Creating and using environments
Don't install packages in your base environment — create a separate environment instead.
For example, to create an environment named test with an installation of Python 3.10:
You can then install further packages in your test environment using conda install.
For example, to install the Python package scipy:
You can define an environment's packages in a Conda environment YAML file, then create it with a single command:
You can list the installed packages in your environment using conda list, and you can deactivate your environment using conda deactivate.
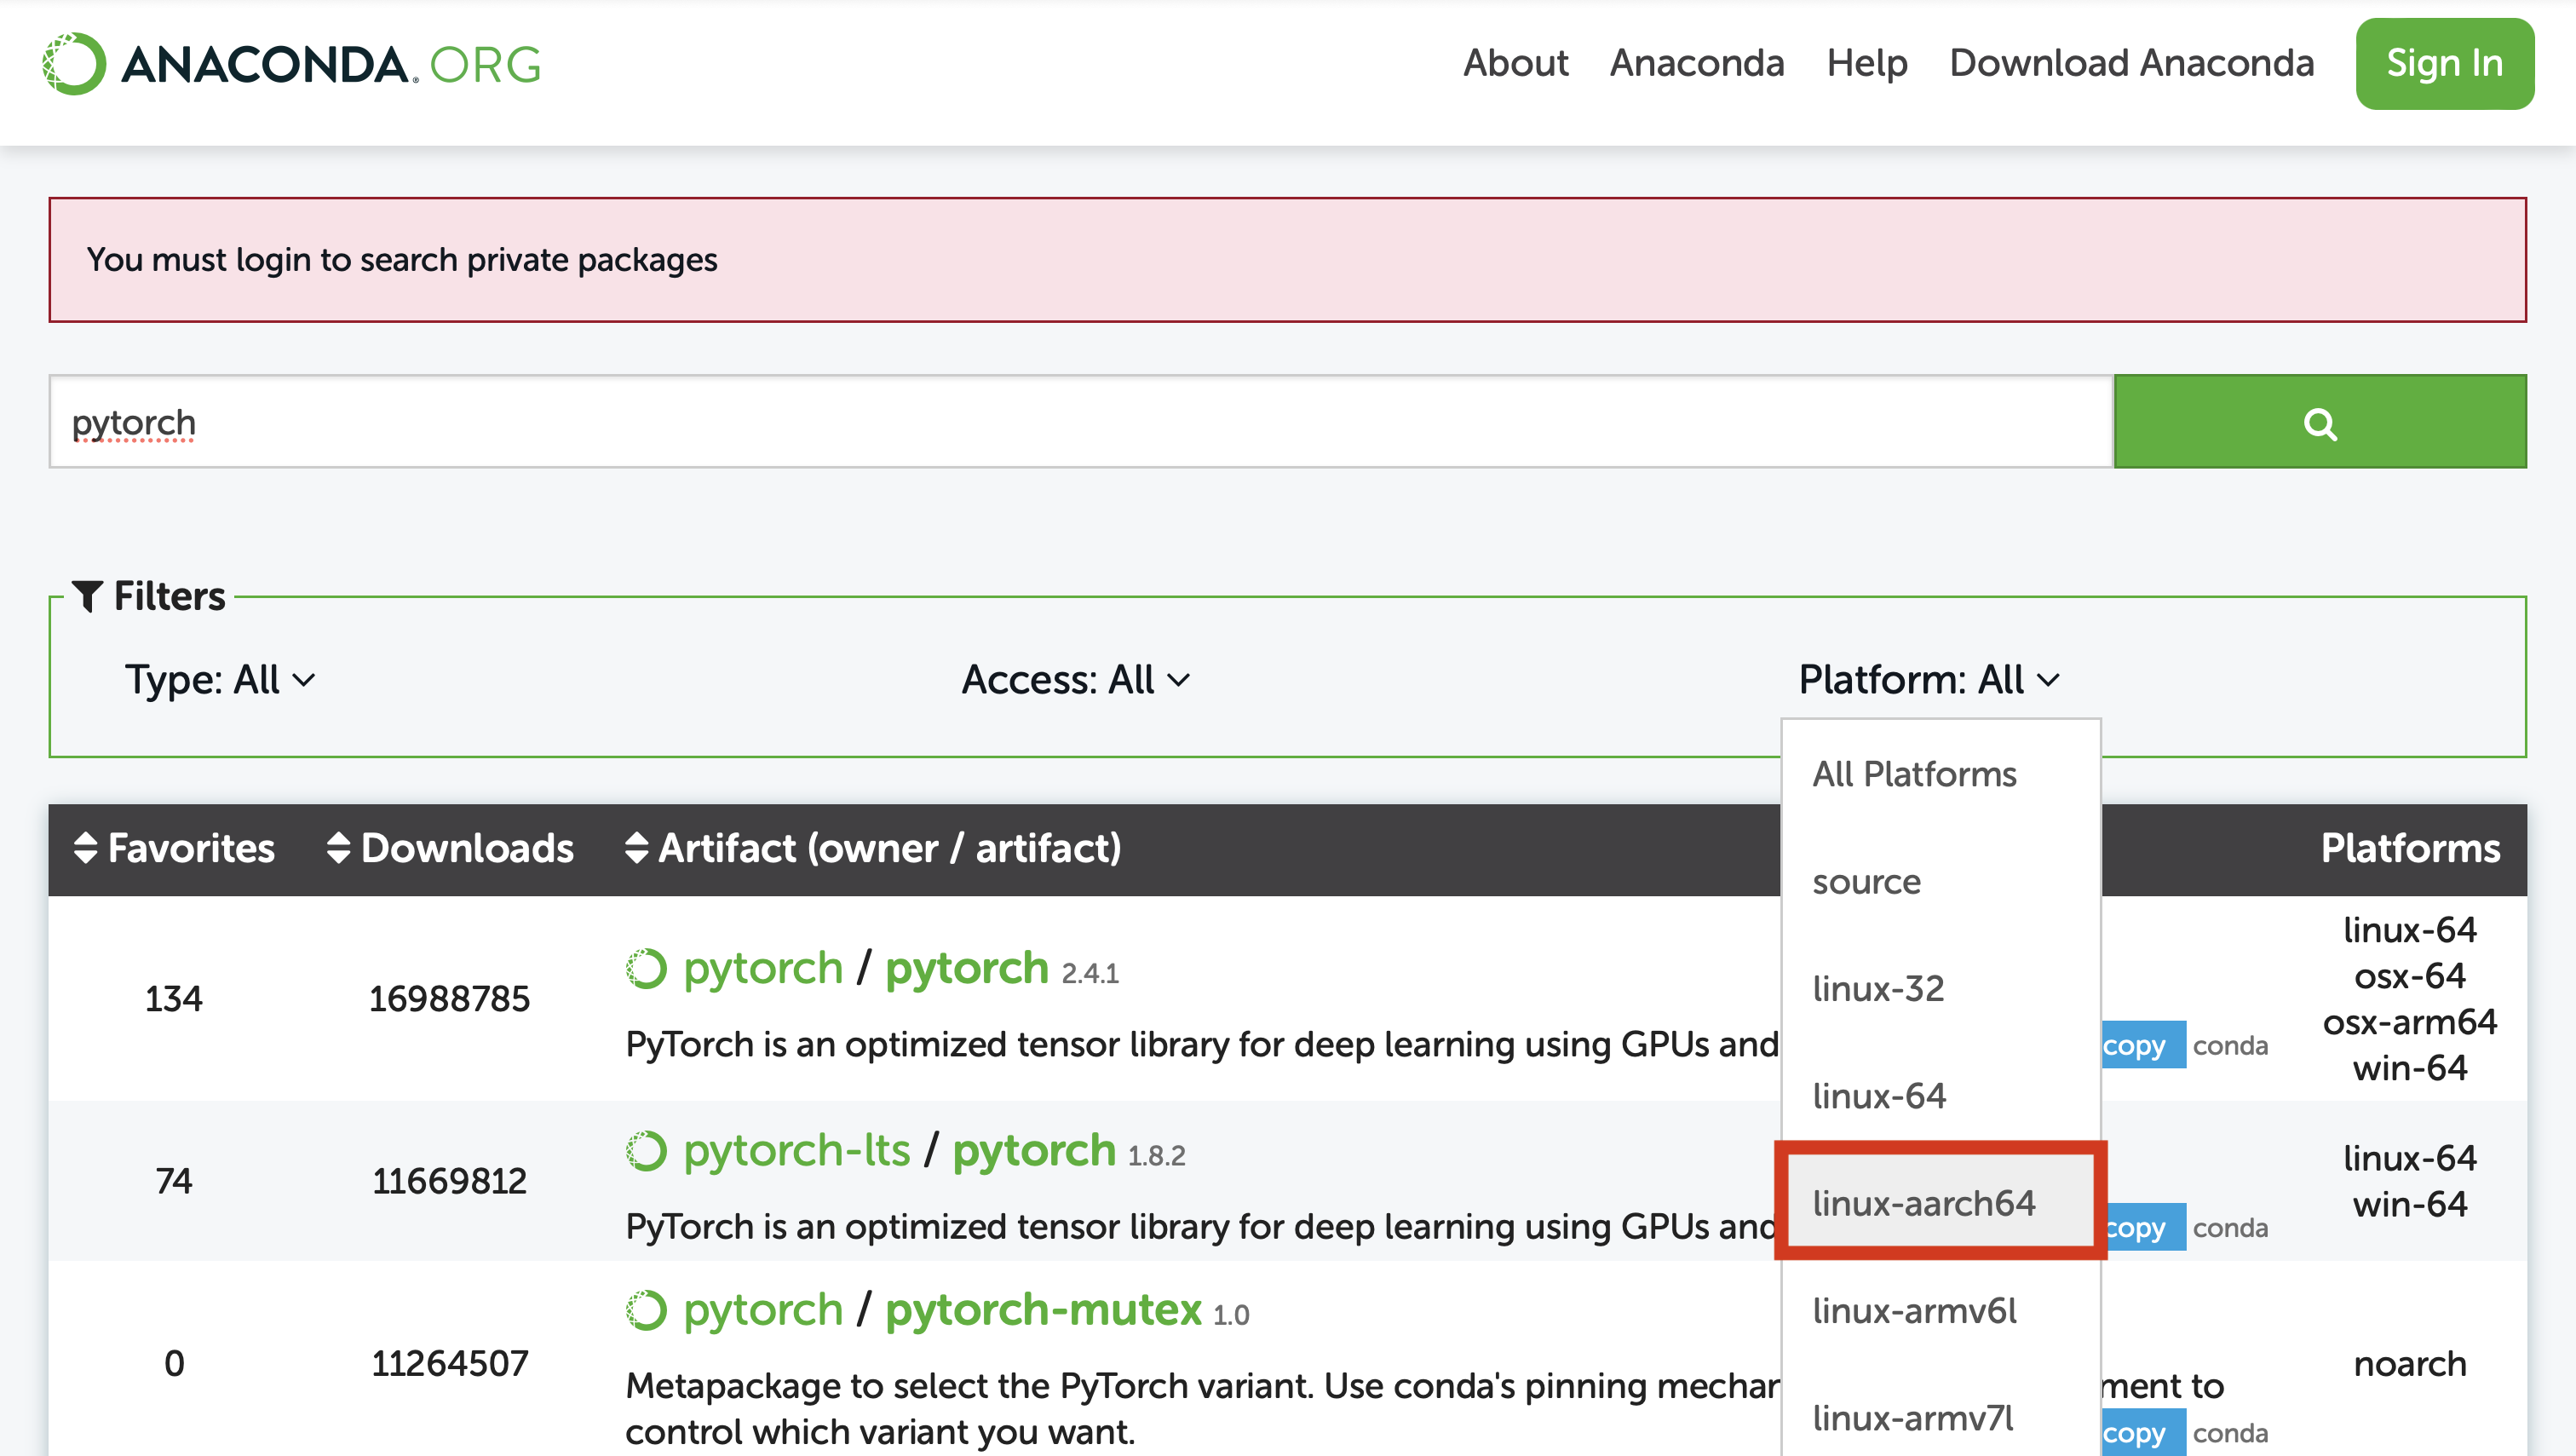
Finding aarch64-compatible packages
Isambard clusters mainly use Linux Arm64 (aarch64), so check that packages are built for this architecture.
Search the Anaconda.org website and filter the platform to linux-aarch64 to find them.
Managing Python with uv
uv is a fast Python package and project manager, covering Python version management, virtual environments, and dependency lockfiles.
See the uv docs on working on projects for details.
uv also provides a pip-compatible interface, so existing pip/venv workflows port to it easily.
Installing uv
To install uv, run:
Creating a virtual environment and installing a package
uv wraps virtualenv/venv — prepend commands with uv to create a virtual environment in your current directory:
$ mkdir uv_dir
$ cd uv_dir/
$ uv venv
Using CPython 3.12.11
Creating virtual environment at: .venv
Activate with: source .venv/bin/activate
$ source .venv/bin/activate
(uv_dir) $
Install a package inside the environment with uv pip:
(uv_dir) $ uv pip install numpy
Resolved 1 package in 123ms
Prepared 1 package in 610ms
Installed 1 package in 322ms
 + numpy==2.3.3
Using pip and venv
We recommend you use Conda or uv to install and manage your Python packages, as above.
Using the system Python module
Alternatively, use the pre-installed Cray Python module:
$ module avail # list available modules
...
$ module load cray-python
$ which python3
/opt/cray/pe/python/3.11.5/bin/python3
$ python3
Python 3.11.5 (main, Nov 29 2023, 20:19:53) [GCC 12.3.0] on linux
Type "help", "copyright", "credits" or "license" for more information.
>>> exit()
Creating a virtual environment with venv
We recommend working inside a venv virtual environment, which isolates your pip-installed dependencies per project.
Let's create a venv:
$ mkdir ~/.virtualenvs/ # Create folder for virtual environments
$ python3 -m venv --upgrade-deps ~/.virtualenvs/test2
To activate our test2 environment and install the package scipy:
$ source ~/.virtualenvs/test2/bin/activate
(test2) $ which python3
$HOME/.virtualenvs/test2/bin/python3
(test2) $ python3 -m pip install scipy
To list the installed packages in your environment:
Finally, you can exit your environment using the deactivate command.
pip vs python3 -m pip
Using the module form (python3 -m pip) instead of a bare pip makes it unambiguous which Python installation is being used.